Collectibles
Trash Day collectibles guide: every hidden Flamingo location, per-area loot collections and the secrets that gate the rarest achievements.
Introduction
Collectibles are the long-tail completion layer of Trash Day, the reason a crew that has already reached Raccoon Paradise loads one more run instead of closing the game. The hidden objects are spread across all six areas and almost none of them are marked on screen. The headline hunt is the Flamingo: one pink lawn ornament is tucked somewhere in every level, well away from the safe wagon line, and finding the whole set unlocks A Group of Flamingos is Called a Flamboyance. Underneath that sits a looser tier of secrets, including per-area loot collections that quietly track how many of a zone's items your crew has pulled into the wagon, musical instruments that count toward Virtuoso, a throwing challenge tied to Wide Receiver, and playful environmental toys such as the river's cotton candy and the geyser that launches the wagon skyward. Collecting is deliberately social: someone has to break formation, scout, and hurry back before the wagon rolls on, which turns every hunt into a small co-op decision about risk and timing.
Collectible and Secret Reference
| Collectible | Area | Find Condition | Reward |
|---|---|---|---|
| Flamingo | Every area | Locate the single hidden Flamingo in each of the six levels | Hidden Flamboyance achievement |
| Animal Control Collection | Animal Control | Gather the shelter set before breaking out for good | Tracked Area completion credit |
| Convenience Store Collection | Convenience Store | Clear the shelves, aisles and rear dumpsters | Tracked Area completion credit |
| Construction Site Collection | Construction Site | Recover the scattered items around the unstable yard | Tracked Area completion credit |
| River Collection | River | Rescue items before the current dissolves them | Rare Area completion credit |
| Junkyard Collection | Junkyard | Sweep the largest loot pool in the whole game | Rare Area completion credit |
| Park Collection | Park | Finish the final set on the last stretch to paradise | Tracked Everything Everywhere achievement |
Collectible Sets and Secrets
The Flamingo Hunt
A single hidden lawn ornament waits in every one of the six areas, always placed away from the safe wagon line.
Animal Control Collection
The opening shelter doubles as a tutorial and as the first full loot set your crew can clear.
Convenience Store Collection
A tight urban shop layout where shelves, aisles and a rear lot hide the area's full loot set.
Construction Site Collection
An unstable yard full of planks and loose terrain, and a loot set scattered right across it.
River Collection
Water turns the area's loot set into a race, because anything dropped can dissolve before you grab it.
Junkyard Collection
The largest loot pool in the game sits in the scrap yard, and clearing it is a genuine project.
Park Collection
Open green sightlines make the final set easy to spot, but the last stretch still has to be escorted.
Core Mechanics
Trash Day never hands you a checklist up front, so the collectible layer runs on three interlocking systems. The first is Flamingo placement: each area hides exactly one ornament off the critical wagon path, which turns the hunt into a search problem that rewards climbing, scurrying and scouting rather than raw speed. The second is the per-area loot collection, which quietly tallies how many of a zone's designated items your crew has deposited; these six sets form the backbone of the Everything Everywhere achievement. The third is the action-based secret, where a specific physical feat triggers the reward, such as playing every musical instrument for Virtuoso or catching a teammate's throw beyond fifteen meters for Wide Receiver. Environmental oddities like the river's cotton candy and the geyser that tosses the wagon into the air sit in this same category. Nothing is instanced per player, so a find by one raccoon counts for the entire lobby, and the tracking that does exist is deliberately vague.
Advantages
Collectibles give Trash Day a second reason to exist once the main haul is finished. A clean six-area run takes most groups only two to three hours, which could leave the game feeling thin, and the flamingo hunt, the area sets and the action secrets roughly double that lifespan without adding new zones. They also reward the best thing the game does, which is movement: raccoons climb, scurry and scamper, and collectible placement is designed to send you over fences, onto rooftops and behind buildings you would otherwise sprint past. For a full crew the hunt becomes a natural role split, with one player scouting for the flamingo while the others keep the wagon rolling and guard the loot. Because finds are shared across the lobby, completion cooperates rather than competes, and a well-timed secret is one of the few things that reliably gets an entire voice chat cheering at once.
Challenges
The collectible design carries real friction. There is no in-game map, compass or tracker that shows how many flamingos you have found or which area sets remain incomplete, so most crews end up keeping their own notes or alt-tabbing to a community list. Several targets sit close to genuine hazards: the River dissolves dropped loot, and a wagon parked near traffic, a rockslide or a bear trap can wipe an entire run while the crew chases a single ornament. Solo players feel this hardest, because a lone raccoon cannot scout and guard the wagon at the same time, and leaving it unattended rarely ends well. A few secrets also lean on physics timing that is difficult to reproduce on demand, so achievements such as Wide Receiver can take many attempts and a lot of shouted countdowns, which frustrates groups expecting a tidy checklist hunt.
Frequently Asked Questions
How many Flamingos are there in Trash Day?+
Do collectibles carry over between runs?+
Which collectible achievement is the hardest to finish?+
Quick Tips
Assign one player as the dedicated scout before the run begins. That raccoon ignores the wagon entirely and sweeps each area for the Flamingo and stray loot while everyone else keeps the cart moving. This single decision removes most of the tension between collecting and escorting, because the scout is never the person expected to hold a wheel or push a slope. Rotate the role between areas so nobody gets stuck doing thankless work for the whole session, and have the scout call out finds out loud so the rest of the crew knows when to pause rather than discovering the detour by accident.
Never leave the wagon unattended in a hazard zone. Traffic lanes, rockslide chutes, bear traps and open water can all end a run in seconds, and a parked cart is a magnet for physics accidents. If a detour is unavoidable, split the crew so at least one raccoon stays with the cart while the others hunt, and agree on a meeting point before anyone wanders off. In the River especially, keep the wagon on solid ground and carry items one at a time rather than tossing them, since a dropped piece can dissolve before it can be recovered.
Track your own progress in a shared note, because the game will not do it for you. List the six areas and tick off the Flamingo and the area loot set as you clear them, and mark any secret you attempted but failed, such as a Wide Receiver throw or a musical instrument you could not reach in time. This habit pays off on replays, when a crew can jump straight to the missing pieces instead of re-sweeping zones they already finished. It also makes the final push to Everything Everywhere far less frustrating, since you always know exactly which area is holding you back.
Practice the physics secrets in a low-stakes area before you chase them seriously. Wide Receiver needs a catch on a throw of more than fifteen meters, and Virtuoso requires playing every musical instrument, so both benefit from a short warm-up where nobody cares about wiping. Use the earlier zones to rehearse throwing arcs, instrument locations and countdown timing, then attempt the real thing once the crew is comfortable. A calm rehearsal almost always beats a frantic attempt in a late, high-hazard area where a failed stunt can cost the whole haul.
Featured
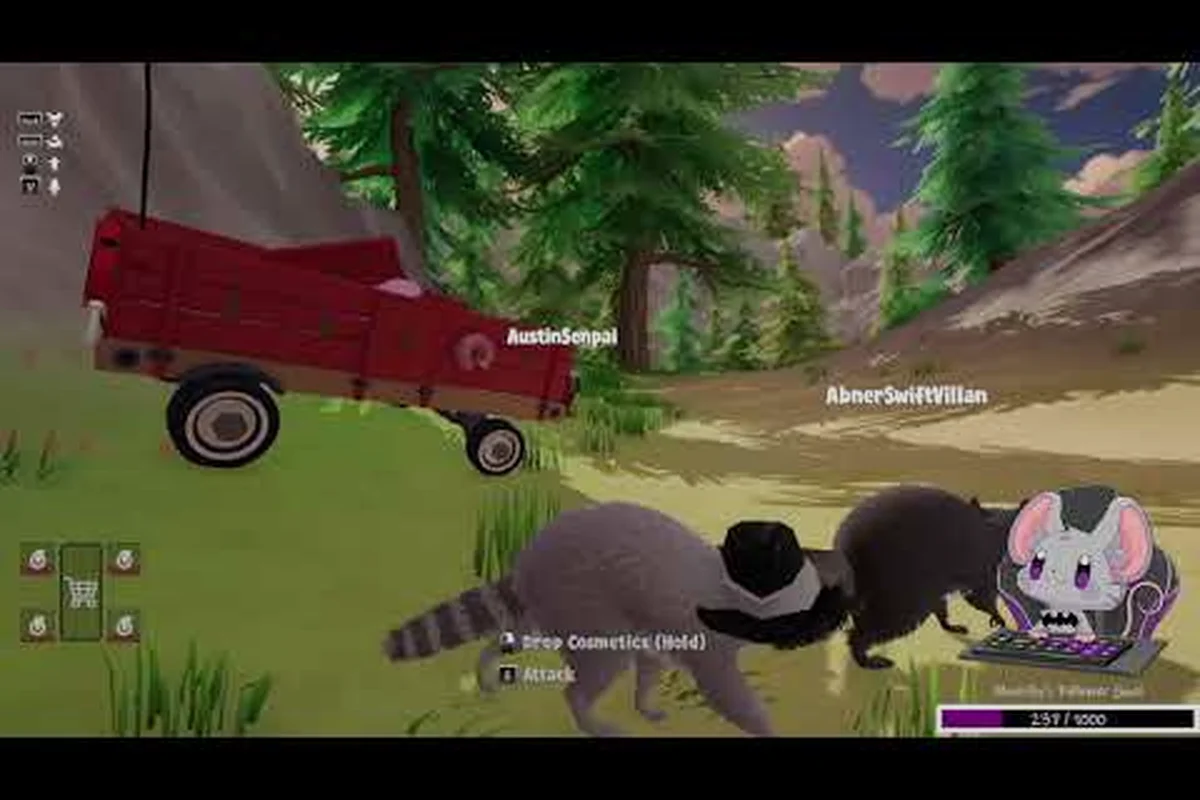
Trash Day Convenience Store Collectibles: Hotspot Map
Map every Trash Day Convenience Store collectibles spot alongside Park, Junkyard, River, and Construction Site pickups so your crew clears collections in one run.
Trash Day Cotton Candy Secret: Seesaw, Pattycake & Virtuoso Tips
Crack the Trash Day cotton candy secret with seesaw and pattycake tricks, plus how to trigger the Virtuoso achievement by playing every instrument in one wild run.
Trash Day Find All Loot: Interactive Props and Hidden Item Routes
Map out how to find all loot in Trash Day, from rare trash pickups to secret interactive props hidden in every area, with routes that maximize your haul score.
All Articles

Trash Day Flamingo Locations: Every Hidden Plastic Bird Spot
Track down every Trash Day flamingo location across all six areas, from Animal Control easter eggs to secret hideouts raccoon crews love to miss.
Trash Day Everything Everywhere Flamingo and Loot Locations
Locate every Trash Day everything everywhere item with per-area maps, Flamingo hideouts, and collection routes that fill the checklist fast.
Trash Day Collectible Checklist: 100% Pickup Map Per Area
Map out your Trash Day collectible checklist with per-area hotspots for flamingos, secret props, and rare pickups so your crew clears every hidden item in one run.
Trash Day How to Find Flamingos: Flamboyance Achievement Route
Learn Trash Day how to find flamingos fast with a full Animal Control collection route that unlocks the Flamboyance achievement in one smooth run.