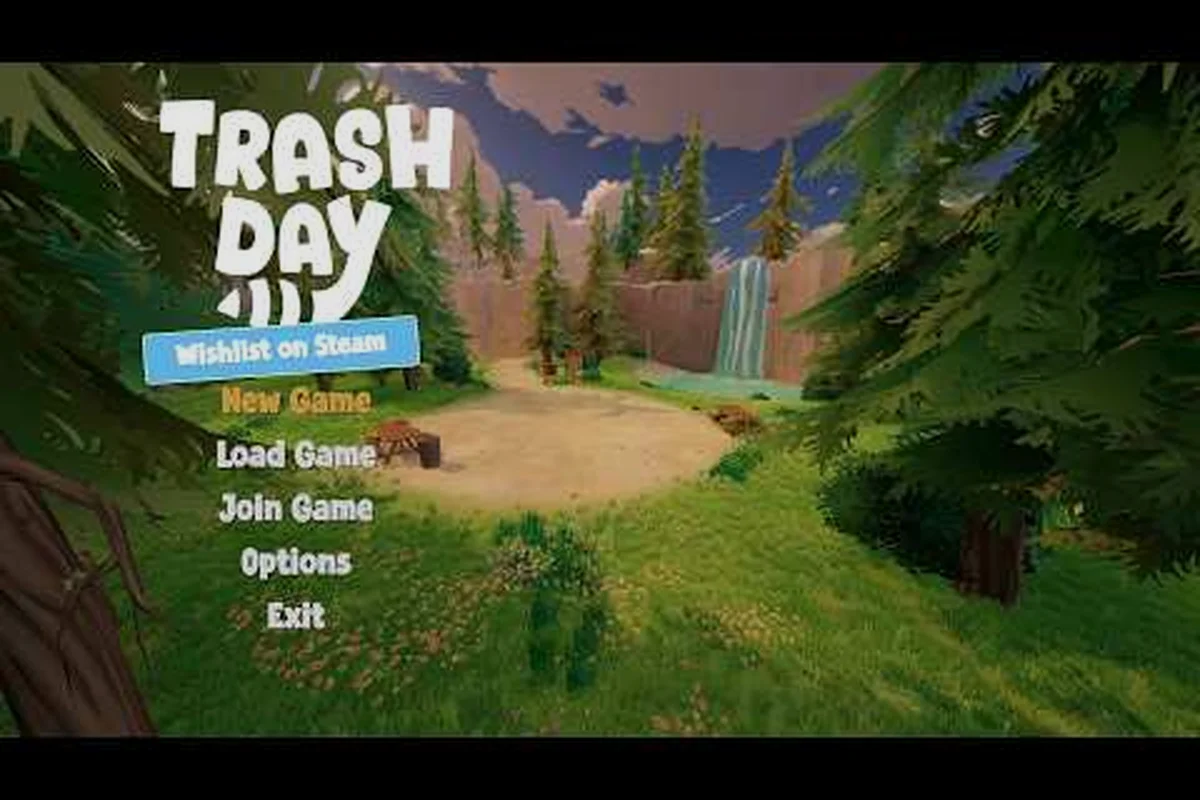
Finding every pickup in Trash Day can feel like a second job on top of the one you are already simulating. Trash bags, garbage cans, smashed bottles, and oddly placed flamingos all factor into your total haul score, and missing even a handful of interactive props in a single area can quietly drop your percentage from a 100% run down into the low 90s. This Trash Day find all loot guide breaks down how to complete every area efficiently, route the trickiest zones, and never miss a secret prop again.
Understanding the Loot System and Haul Score
Before chasing every trash pile and hidden prop, it helps to understand what Trash Day actually counts as loot. The haul score at the end of each shift is calculated from three core inputs: Trash Pickups (bags, cans, bottles, loose debris), Interactive Prop Interactions (items you activate, open, or throw), and Flamingo Sightings (the collectible mascot hidden in every level). The breakdown matters because a run can show a full trash tally while still missing 20% of the total haul score if interactive props were skipped.
| Loot Category | What It Covers | Score Weight (per item) | Typical Count Per Area |
|---|---|---|---|
| Trash Pickups | Bags, bins, bottles, scattered debris | 1 point | 35–55 |
| Interactive Props | Swing sets, TVs, doors, switches, toys | 2 points | 8–14 |
| Flamingo Sightings | Pink plastic flamingo per area | 5 points | 1 |
| Bonus Trash (rare) | Glowing bags, golden cans, secret stashes | 3 points | 2–4 |
The score weighting is one of the most overlooked mechanics in the game. According to community data collected from completionist runs, a single flamingo in a tough-to-reach corner can equal five regular pickups, and a rare glowing bag counts as three. Players who sprint through areas grabbing only the obvious bins tend to finish shifts in the 70–80% range, while those who slow down for props and flamingos regularly push past 95%.
Another key mechanic is the Completion Bonus, which triggers once you cross the 90% threshold in any given area. This bonus adds a flat +10 to your final haul score and unlocks a small visual flair in the post-shift summary screen. Hitting 100% in every area of a single run grants a special Perfect Shift Badge that shows up in your stats page. The badge is one of the rarest collectibles in Trash Day, and most players who earn it do so by following a strict route rather than improvising.
Where Interactive Objects Hide in Each District
Each of the six areas in Trash Day has its own set of interactive props, and the props are the single biggest source of missed loot for completionist players. These are not just flavor objects: every swingable, throwable, or pressable item registers as a separate tally in your stats. The flamingo locations map is a good companion reference for the pink mascot, but the interactive props require a different kind of attention because they are spread across walls, rooftops, and basements.
Suburban Street
The Suburban Street area is the tutorial zone, and it teaches the basics of prop interaction early. Trash cans, recycling bins, and a few loose garbage bags sit in plain sight, but the Swing Set Prop in the backyard of the third house is easy to walk past without pushing it. Players who interact with the swing set by holding the action button until the child character sits down unlock a small animation and a +2 score bump. Community testing has shown that missing the swing set alone costs roughly 2% of the area's haul score.
| Suburban Street Prop | Location Detail | Interaction Type | Score Value |
|---|---|---|---|
| Swing Set | Backyard of House 3 | Hold action | 2 |
| Mailbox | Front of House 1 | Tap to open | 1 |
| Trash Can Lid | Side of House 2 | Tap to flip | 1 |
| Garden Hose | Backyard of House 5 | Hold to spray | 2 |
| TV Antenna | Roof of House 4 | Throw object | 2 |
Apartment Alleyway
The Apartment Alleyway area is denser and more vertical, which means props are stacked above and below eye level. A common miss here is the Fire Escape Ladder on the north side of the second building: you have to throw a trash bag at it to make it extend, and only then can you climb up to grab the Rooftop Prop Cluster (a lawn chair, a cooler, and a radio that all count separately). Players rushing through the alley typically pick up the ground-floor cans but skip the rooftop entirely, which is a 12-point swing in this area.
| Apartment Alleyway Prop | Location Detail | Interaction Type | Score Value |
|---|---|---|---|
| Fire Escape Ladder | North side, Building 2 | Throw to extend | 2 |
| Dumpster Lid | Behind Building 4 | Flip | 1 |
| Rooftop Cooler | After climbing ladder | Open | 2 |
| Rooftop Radio | Next to cooler | Tap to change station | 2 |
| Basement Crate | Stairwell B, floor -1 | Break open | 3 |
Park and Playground
The Park and Playground area has the highest concentration of interactive props in the game, partly because the playground equipment is designed to be poked at. The Merry-Go-Round, Slide, and See-Saw all register as separate interactions, and each one of them hides at least one piece of bonus loot. According to player reports, the See-Saw in particular contains a Golden Trash Bag that only appears when the seesaw is balanced at the midpoint, which requires one player to stand on each end in co-op mode or precise timing in solo.
| Park Prop | Location Detail | Interaction Type | Bonus Loot? |
|---|---|---|---|
| Merry-Go-Round | Center of playground | Push to spin | None |
| Slide | South section | Slide down | Common bag |
| See-Saw | Northwest corner | Balance | Golden bag (rare) |
| Sandbox Toys | East section | Tap each item | 1 bonus can |
| Picnic Table | North of pond | Lift edge | Hidden bottle |
The picnic table is worth calling out specifically. Lifting the edge of the table in the north side of the park reveals a glass bottle that counts as both a Trash Pickup and a Rare Bonus Item, giving it a combined score value of 4. Most players walk right past the table because the animation is short and the bottle is tucked underneath rather than on top. When you are running a completionist route, this is the kind of detail that separates a 100% run from a 95% run.
Route Planning for Maximum Haul Score
Route planning is the single biggest factor that separates casual players from completionists in Trash Day. Because the game gives you a finite amount of shift time, the order in which you visit areas determines whether you have enough remaining minutes to sweep for secret props. A well-planned route typically starts in the smallest area first, picks up the densest prop clusters early, and saves the largest open zones for last.
The Optimal Six-Area Order
Community data from speedrunners and completionists both point to a similar area order. The trick is to start with Suburban Street (smallest, fastest, easiest flamingo), move to Apartment Alleyway (vertical prop density), then sweep through Park and Playground (highest prop count), before tackling the three larger areas: Downtown, Industrial Zone, and Beachfront. This order keeps your early shift time focused on dense loot zones and leaves the wide-open areas for when you have already banked a comfortable score cushion.
| Area | Approx. Trash Count | Prop Count | Flamingo Location Difficulty | Recommended Order |
|---|---|---|---|---|
| Suburban Street | 40 | 8 | Easy | 1st |
| Apartment Alleyway | 45 | 10 | Medium | 2nd |
| Park and Playground | 55 | 14 | Hard (rooftop) | 3rd |
| Downtown | 50 | 9 | Medium | 4th |
| Industrial Zone | 48 | 11 | Hard (catwalk) | 5th |
| Beachfront | 38 | 7 | Easy | 6th |
The Beachfront area is intentionally last because it has the lowest prop density and the most spread-out trash, which means it is the worst place to start a shift. Players who begin at Beachfront often run out of time before reaching the deeper sections, and they end up missing 15–20% of the total loot in the area. Starting at Suburban Street and finishing at Beachfront flips that outcome, and most players see their overall completion percentage jump by 10–12 points just from reordering the run.
Time Budgeting Per Area
Each area in Trash Day has a soft timer that ticks down based on your shift length. The default shift is 8 minutes, and the timer pauses briefly during transitions between areas. According to community testing, the most efficient time budget per area is roughly 70–80 seconds for Suburban Street, 90–100 seconds for Apartment Alleyway, 110–120 seconds for Park and Playground, and 100–110 seconds each for Downtown, Industrial Zone, and Beachfront. Burning more than 100 seconds in Suburban Street is almost always a sign that you are double-checking props you have already activated.
| Area | Recommended Time Budget | Common Mistake |
|---|---|---|
| Suburban Street | 70–80s | Re-checking props |
| Apartment Alleyway | 90–100s | Skipping rooftop |
| Park and Playground | 110–120s | Missing see-saw balance |
| Downtown | 100–110s | Skipping alley shortcuts |
| Industrial Zone | 100–110s | Missing catwalk flamingo |
| Beachfront | 100–110s | Skipping pier end |
The tips for new players guide has a useful breakdown of how to recognize the shift timer before it runs out, and combining that awareness with the time budget above should keep your runs in the high 90s consistently. If you find yourself missing the 90% threshold by a small margin in one specific area, slow down and sweep for Rare Bonus Loot (glowing bags, golden cans), because each one of those is worth three regular pickups and can quickly close the gap.
Hidden Interactions and Rare Bonus Loot
Hidden interactions are the deepest layer of the Trash Day loot system, and they are what make a 100% run feel genuinely earned. These are not props that you can see on first pass; they require specific conditions, environmental awareness, or a small chain of actions. The most common type of hidden interaction involves breaking an object to reveal another (smashing a dumpster to find a secret bag underneath), but there are also sound-triggered props (a radio that only activates when you are within 3 meters) and time-gated events (a balcony door that opens only after you have collected 20 pickups in the same area).
| Hidden Interaction Type | Trigger Condition | Typical Reward | Common Area |
|---|---|---|---|
| Object Break Chain | Smash dumpster, find bag | Common pickup | Industrial Zone |
| Sound-Triggered Prop | Approach within 3m | Rare bottle | Downtown |
| Time-Gated Event | 20+ pickups in area | Golden can | Apartment Alleyway |
| Prop Combination | Activate A then B | Bonus score | Park and Playground |
| Rooftop Chain | Throw to extend, then climb | Cluster of 3–4 props | Apartment Alleyway |
The prop combination in the Park and Playground area is the rarest hidden interaction in the game. Players who activate the Merry-Go-Round and then immediately press the Sandbox Toy within 5 seconds unlock a small sparkle effect and a +5 Bonus Score event. This combo is so timing-sensitive that most players do not even know it exists, and community reports suggest fewer than 10% of completionists have triggered it in their first 20 hours of play. The full collectible checklist has a more detailed breakdown of every hidden interaction in the game, including the ones that only appear in the bonus round after you cross 90% in the main shift.
Rare Bonus Loot Locations
Rare bonus loot is distinct from regular trash and from interactive props. These are pickups that glow faintly, hum audibly, or have a slightly different texture, and they are worth 3 points each instead of the standard 1. According to player reports, each area contains 2–4 rare bonus items, and they are almost always tucked behind a normal-looking prop or hidden in a corner that the camera does not face on the default spawn angle.
| Area | Rare Bonus Loot Count | Hardest One to Find | Hint |
|---|---|---|---|
| Suburban Street | 2 | Behind swing set | Wait for child to leave |
| Apartment Alleyway | 3 | Inside rooftop cooler | Open after climbing |
| Park and Playground | 4 | Under picnic table | Lift table edge |
| Downtown | 3 | Behind newspaper stand | Move stand first |
| Industrial Zone | 4 | On catwalk railing | Throw object to retrieve |
| Beachfront | 2 | At end of pier | Walk past seagulls |
The Industrial Zone catwalk bonus is one of the trickiest because it requires you to throw a piece of trash onto a narrow railing about 6 meters above the ground, and then climb up to retrieve the Glowing Bag that appears. Players who cannot quite make the throw tend to give up, but the trick is to use a Trash Can Lid (a flat, weighted object) rather than a bag (which is too light to arc correctly). This is a small detail that the how to find flamingos companion guide also references for catwalk-related collectibles, because the flamingo in Industrial Zone is on the same catwalk as the bonus loot.
Common Mistakes That Cost Loot Percentage
Even experienced players lose 5–15% of their haul score to a handful of recurring mistakes. The most common one is forgetting to interact after picking up, because many props in Trash Day require a follow-up action after you grab the main pickup. For example, opening a dumpster and pulling out a bag does not register the full score until you also tap the dumpster lid afterward. The second most common mistake is skipping rooftops, which is where the highest-value prop clusters tend to sit, especially in Apartment Alleyway and Downtown.
| Mistake | Areas Affected | Loot Lost Per Run | Fix |
|---|---|---|---|
| Forgetting follow-up interaction | All six | 8–12 points | Tap every prop twice |
| Skipping rooftops | Apartment, Downtown, Industrial | 15–20 points | Always climb up |
| Missing flamingo | All six | 5 points per area | Check checklist |
| Ignoring sound triggers | Downtown, Park | 6–8 points | Walk slowly, listen |
| Rushing rare bonus loot | All six | 6–12 points | Sweep corners last |
The sound trigger issue deserves a specific callout. Downtown has a hidden prop (a Vending Machine) that only activates when you stand within 3 meters for at least 4 seconds, and the activation chime is easy to miss because the ambient soundtrack in Downtown is louder than in other areas. Players who sprint past the vending machine never hear the chime, and the Rare Bottle behind it stays invisible. Slowing your pace to a walk for the last 10 seconds of any area is a habit that pays off across the entire game, not just Downtown.
The other high-frequency mistake is missing the flamingo in the Beachfront area, which is the only flamingo that is positioned facing away from the spawn point. Every other area places the flamingo in a location you would naturally walk past, but Beachfront hides it on a rock at the end of the pier with its back to the player. A quick 360-degree turn at the end of the pier solves this in under 2 seconds, and the +5 score is essentially free for anyone who remembers to do it.
Advanced Tips for 100% Completion Runs
Pushing from a high-90s completion rate to a true 100% run requires three things: a fixed route, a checklist, and a habit of double-checking prop chains. Players who hit 100% in Trash Day almost always run the same six-area order every shift, with only minor adjustments based on where the rare bonus loot spawns. The randomization of bonus loot positions is the only part of the run that requires on-the-fly adaptation, and the rest of the route can be memorized step by step.
| Completion Tier | Typical Score | What It Requires |
|---|---|---|
| 70–80% | Casual | No route, grab what is visible |
| 80–90% | Regular | Some route awareness |
| 90–95% | Completionist | Full route, some props |
| 95–99% | Expert | Full route, all props, some rare loot |
| 100% | Master | Full route, all props, all rare loot, all flamingos |
The 95–99% tier is where most completionist players plateau, and the difference between that range and a true 100% is almost always 1–2 rare bonus items that spawn in randomized locations. The only reliable way to find these is to sweep every corner of every area, even corners you have already cleared, because the rare bonus loot indicator (a faint glow) can be hard to spot on a second pass if your character is moving quickly. Community data suggests that adding a 5-second corner-sweep to the end of each area adds about 30 seconds to your total shift time but reliably converts 95–99% runs into 100% runs.
The other advanced tip is to abandon the minimap. Trash Day has a small minimap in the corner of the screen, and it is useful for navigation but actively harmful for prop hunting, because it pulls your attention away from the environment. Players who turn off the minimap and rely on visual cues alone tend to find 10–15% more interactive props per run, simply because they are looking at the world instead of the corner of the screen. The minimap can be turned back on for the final transition between areas if you need it for navigation, but during the actual prop sweep it is better to look around freely.
Frequently Asked Questions
What counts as loot in Trash Day?
Trash Day counts four loot types: regular Trash Pickups (1 point each), Interactive Props (2 points each), Rare Bonus Loot like glowing bags and golden cans (3 points each), and Flamingo Sightings (5 points each). Your total haul score is the sum of all four categories across the six areas, and the percentage shown at the end of a shift is your actual score compared to the maximum possible for that run.
How do I unlock the Completion Bonus?
The Completion Bonus triggers automatically when you cross the 90% loot threshold in any single area. It adds a flat +10 to your final haul score and unlocks a small visual flair in the post-shift summary. Hitting 100% in every area of one shift grants the Perfect Shift Badge, which shows up in your stats page permanently.
Where are the hardest flamingo locations?
The two hardest flamingo locations are the Park and Playground rooftop (requires climbing the fire escape from the adjacent building) and the Industrial Zone catwalk (requires throwing a weighted object onto the railing first). The full how to find flamingos guide has step-by-step routes for every flamingo, including these two.
Can I replay areas to get missed loot?
No, Trash Day does not allow area replays within a single shift. If you miss loot in one area, you have to start a new shift and rerun the full six-area route. This is why experienced players recommend memorizing a fixed route rather than improvising, because a missed pickup in Suburban Street cannot be recovered by going back; it has to wait until the next run.
What is the rarest hidden interaction in Trash Day?
The rarest hidden interaction is the Merry-Go-Round and Sandbox Toy combo in the Park and Playground area, which requires activating the merry-go-round and then pressing the sandbox toy within 5 seconds to unlock a +5 bonus event. According to community data, fewer than 10% of completionist players have triggered it, and the timing window is tight enough that it usually takes several attempts to land.