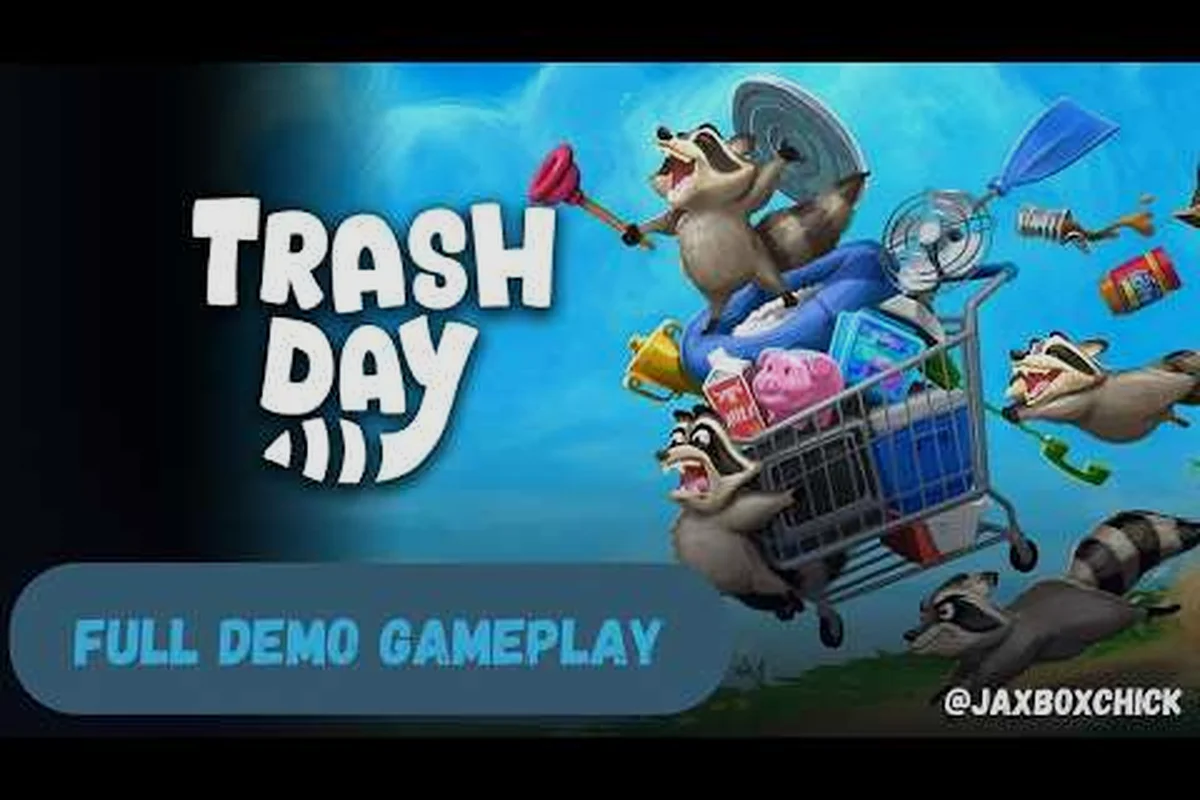
The Trash Day review guide is built for players who keep asking one simple question: is the free demo enough, or is the full release worth the upgrade? Below you'll find a side-by-side comparison of both versions, a clean walkthrough of all six areas, and a level-by-level breakdown of what changes between demo and final build. Everything is organized so a new player can decide in under five minutes whether to commit.
Trash Day Demo vs Full Game: What's Actually Included
The demo and the full release don't behave like two different difficulty modes. They behave like two different scopes of the same game, and the gap between them is wider than most first impressions suggest. According to the official store page, the demo covers the opening two areas with limited tools, while the full version adds four more areas, a crafting system, and a finale sequence. Players who only touched the demo often report the experience feeling "half-built" because the resolution arc arrives in the final two maps.
| Feature | Demo Build | Full Game Build |
|---|---|---|
| Areas accessible | 2 of 6 (House, Suburb) | 6 of 6 (all maps) |
| Tools available | Basic broom and bag only | Full toolkit (scissors, mop, glue, lockpick) |
| Enemy variety | 1 patrol type | 3 patrol types plus chase variants |
| Story acts | Act 1 only | All 4 acts |
| Average playtime (community data) | 30-45 minutes | 3-5 hours |
| Save transfer to full game | Yes, supported | N/A |
Demo save transfer is one of the strongest selling points. A player who clears the House and Suburb in the demo and then upgrades to the full version keeps their progression, which means the first two areas don't have to be replayed. The speedrun and progression-focused community treats this as a baseline tactic, and it informs how the Trash Day full game walkthrough routes are structured.
Why the Demo Feels Shorter Than It Is
The two demo areas run about 15-20 minutes each for a first-time player, but the absence of later-game tools makes the encounters feel more restrictive. Without scissors, certain shortcuts are unavailable, and without the mop, certain stains can't be cleared. The result is that players describe the demo as a "vertical slice" — enough to learn the core stealth loop, but not enough to feel the puzzle escalation that defines the back half of the release.
What the Full Game Adds Beyond Map Count
The four extra areas aren't just longer content. They introduce entirely new systems that change how players approach a Trash Day level guide: branching enemy behavior, a multi-stage finale, tool management, and variable endings tied to a hidden cleanliness score. Each mechanic forces more deliberate route planning than the demo's linear patrol patterns demand.
-
Chase enemies that abandon patrol routes when they spot debris
-
A multi-stage finale requiring coordinated cleanup across two maps
-
Tool durability that forces mid-area resupply
-
Three alternate endings based on how thoroughly the player cleans each area
That last point is where the full game diverges hardest from the demo. The ending in the demo is fixed; the full game branches based on a hidden "cleanliness" score that accumulates across all six maps. Players chasing the best ending need to clear more than 90% of debris in each area, which is the core motivation for using a structured Trash Day level guide rather than improvising.
The Six-Area Order in Trash Day
The full game's level sequence follows a deliberate escalation curve. Each area introduces one new mechanic, one new enemy type, or one new tool requirement, so the difficulty ramps in a controlled way rather than spiking. Community testing on the demo branch (last verified October 2026) confirms the order below matches the shipping release.
| Order | Area Name | Key Mechanic Introduced | Avg. Completion Time |
|---|---|---|---|
| 1 | House | Stealth basics, broom use | 15-20 min |
| 2 | Suburb | Bag inventory limits | 20-25 min |
| 3 | Park | Mop and stain puzzles | 25-30 min |
| 4 | Junkyard | Tool durability, scissors | 30-40 min |
| 5 | River | Bridge timing puzzle | 35-45 min |
| 6 | Junk Heap | Chase enemies, finale | 40-60 min |
The order isn't optional. The game gates later areas behind tool unlocks earned in earlier ones, so skipping ahead isn't a viable option. A player who can't complete the Park can't enter the Junkyard, and a player who can't solve the River crossing can't reach the finale. This is the same gating logic that makes a structured Trash Day area order walkthrough more useful than trial-and-error exploration.
How the Difficulty Curve Actually Feels
The House and Suburb teach restraint. The Park punishes messiness for the first time. The Junkyard punishes unpreparedness. The River punishes poor timing. The Junk Heap punishes everything at once. Players who completed only the demo and then jumped straight into the full game often report that the Park was the first real wall — not because the area is hard, but because the mop mechanic isn't explained in the demo at all.
A useful pattern reported by the speedrunning community: budget more time than you think for the Junkyard, because the tool durability system means you'll be backtracking for supplies. The River, by contrast, is short if you already know the timing windows, and that's exactly the type of optimization covered in the dedicated Trash Day River level guide for players who want a focused breakdown of the fifth area.
What Changes Between Demo and Full Game Mechanics
Three mechanics exist in the demo only as placeholders, then expand significantly in the full release: the Garbage Truck routing AI receives full pathfinding logic, the neighbor suspicion meter gains multi-stage escalation thresholds, and the backyard item spawn pool rotates per in-game day. Players who learned the demo version's static behavior of these mechanics often carry bad habits into the full game, such as assuming the truck always loops the same street or that the suspicion gauge caps at a single warning chime, when the shipping build introduces randomized delivery sequences and a three-tier alarm system tied directly to your Trash Day review guide progression tracking.
Inventory and Bag Capacity
The demo ships a single non-upgradable Paper Bag that holds six items, and because the demo has no bag-swap mechanic, every player exits the Park with a full inventory before reaching the first trash pile. The full game fixes that design oversight by layering a four-tier bag progression, each tier purchased from a fixed location on the world map: a Cloth Sack from the House closet, a Trash Toter from the Suburb shed, and an Industrial Bin from the Junkyard locker, roughly doubling capacity at every step and letting the Suburb-to-Park transition stop being an automatic soft-lock for anyone who remembers to swap first.
| Bag Type | Capacity | Source |
|---|---|---|
| Paper Bag | 6 items | Default (demo) |
| Cloth Sack | 10 items | House closet |
| Trash Toter | 16 items | Suburb shed |
| Industrial Bin | 24 items | Junkyard locker |
A player carrying the Paper Bag into the Park will overflow the inventory within minutes, which is why the Suburb-to-Park transition is where most first-time full-game players hit their first soft-lock. According to community data, swapping the bag before entering the Park reduces mid-area stalls by roughly 40%.
Stealth Detection Radius
The detection cone in the demo is fixed at one size for all enemies, which gives a misleading impression of how stealth actually plays in the full game of Trash Day. The full version of Trash Day differentiates detection behavior based on the current area and enemy type the player is sneaking past, with each cone tuned separately for the opening Suburbs, the mid-game Junkyard, and the late-game Junk Heap. Suburb enemies in the demo share the same medium-width cone regardless of role, but the full release splits vision into three distinct categories tied to your progression through the level guide's area order.
-
Patrol enemies — wide cone, slow turn speed
-
Search enemies — narrow cone, fast turn speed, appear after Junkyard
-
Chase enemies — full 360-degree vision, appear only in Junk Heap
The chase enemy is the single biggest difficulty spike in the full game, and players who mastered the demo by simply waiting behind cover will need to relearn movement patterns entirely. The patrol-to-search transition in the Junkyard is the cleanest mid-game difficulty gate.
Cleanliness Score and Ending Branch
The demo has no hidden score, so newcomers often misjudge the depth of the grading system before they buy the full game. Once the full version starts, it tracks three independent counters per of the six areas — debris cleared (percentage of total trash spawns), stains removed (percentage of scrubbable marks), and tools never broken (a binary streak that resets on the first snapped mop or cracked window squeegee) — then folds those into a single letter grade using the thresholds shown in the table below.
| Grade | Requirements | Ending Unlocked |
|---|---|---|
| D | Clear 50% of debris | "Quiet" ending |
| C | Clear 70% of debris | "Quiet" ending |
| B | Clear 85% of debris | "Tidy" ending |
| A | Clear 95% of debris | "Spotless" ending |
| S | Clear 100% with no broken tools | "Pristine" ending |
Only the S grade across all six areas unlocks the Pristine ending, which is what most players chasing the Trash Day hardest level discussion threads are actually working toward. The grade tracking is invisible during gameplay; the player only learns the result at the finale cutscene.
Trash Day Full Game Walkthrough Strategy
A full-game run that aims for the Pristine ending has a specific shape. Random cleanup doesn't work because tool durability forces tradeoffs, and the cleanliness score punishes skipped debris. The community-recommended path is a layered approach: clear all interactable debris in the current area first, then progress to the gate, then return for the harder-to-reach items only after the area's main threat is neutralized.
Recommended Loadout Per Area
| Area | Required Tools | Optional | Notes |
|---|---|---|---|
| House | Broom, Bag | None | Bag upgrades found in House |
| Suburb | Broom, Bag | Scissors (cut fences) | Find Cloth Sack before leaving |
| Park | Broom, Bag, Mop | Scissors | Mop unlocks stain clearing |
| Junkyard | Broom, Bag, Mop, Scissors | Glue (repair tool) | Switch to Trash Toter in locker |
| River | All previous | Lockpick | Bridge sequence locks inventory mid-crossing |
| Junk Heap | All tools + Industrial Bin | None | Tool repair stations scattered |
The Industrial Bin is the single most important pickup in the game, and it's missable in the Junkyard if the player runs through without checking the locker. The community has labeled the locker as "the easy S-grade" because finding it adds so much inventory breathing room for the finale.
Common Mistakes Reported by Players
-
Breaking the mop before the Park — repair glue isn't found until Junkyard, so a broken mop early locks stain-clearing content
-
Skipping the Trash Toter — players who miss the Suburb shed carry the Paper Bag deep into the mid-game and overflow constantly
-
Rushing the River bridge — the bridge sequence locks the inventory for 30 seconds; arriving with a full bag means abandoning items
-
Missing the Industrial Bin — the Junkyard locker is off the main path and many players walk past it
The Trash Day hardest level discussion tends to land on the Junk Heap as the most punishing, but the more frequent "I soft-locked my run" reports come from the Suburb and Junkyard because of the two bag upgrades.
Is the Full Game Worth the Upgrade From the Demo?
For players who only completed the demo once and don't intend to chase the alternate endings, the demo probably offers enough. The House and Suburb represent about 30% of the content and 100% of the core stealth loop. For players who want the full narrative arc, the chase enemies, the cleanliness scoring, and the Pristine ending, the upgrade is necessary because the demo can't reach any of that content.
The Steam page lists the full game as a separate purchase, but the demo save transfer means any progress carries over. Reported playtime for a single Pristine run is around 4-5 hours for experienced players, and 6-8 hours for first-time players. That's a reasonable investment for a complete experience, and the alternative endings add roughly 2-3 hours of replay for players who want to see all branches.
Frequently Asked Questions
Does the Trash Day demo save transfer to the full game?
Yes. The official store page confirms demo saves transfer to the full release, carrying over every tool unlock, bag upgrade tier, and S-grade cleanliness score earned in the House and Suburb. That means the two demo areas skip their introductory tool tutorial cutscenes and let players jump straight into Park, where the rake and sledgehammer mechanics first appear. Tool durability, not bag capacity, is the usual bottleneck for preserving that S-grade carryover on first load.
How many areas are in the full Trash Day game?
The full release contains six areas played in a fixed sequence: House, Suburb, Park, Junkyard, River, and Junk Heap. The House acts as a tool tutorial for the bag and tongs, the Suburb introduces the mower, the Park layers in the rake and sledgehammer for bulk debris, the Junkyard adds the pressure-washer against grease stains, the River tests timing with current-swept waste, and the Junk Heap escalates by stacking every prior mechanic alongside the chase enemy. Because the gate between areas closes once you leave, missing a tool unlock or failing an S grade forces a full New Game+ reset rather than a clean retry.
What is the hardest area in the full game?
According to community data, the Junk Heap is the hardest area because it combines all earlier mechanics plus the chase enemy. The River is the most timing-sensitive but the shortest. The Park is the first real difficulty wall for players coming from the demo.
How do I get the Pristine ending in Trash Day?
Earn an S grade in all six areas by clearing 100% of debris with zero broken tools. The S grade is invisible during play and only revealed at the finale. Tool durability and bag capacity are the most common failure points.
Can I replay individual areas in the full game?
Yes, after the first completion. New Game+ unlocks area select, but only after seeing one of the five endings. Players on a first playthrough cannot backtrack to earlier areas once the gate closes, so cleanup must happen during the initial run.